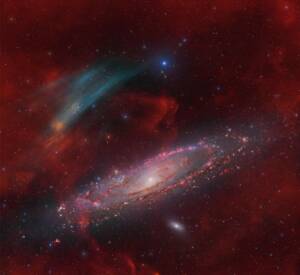
Discovery of the M31 [OIII] emission arc
Recently, a major discovery by an international team of amateur astronomers and scientists has become a huge online hit, and this new discovery is just located in one of the
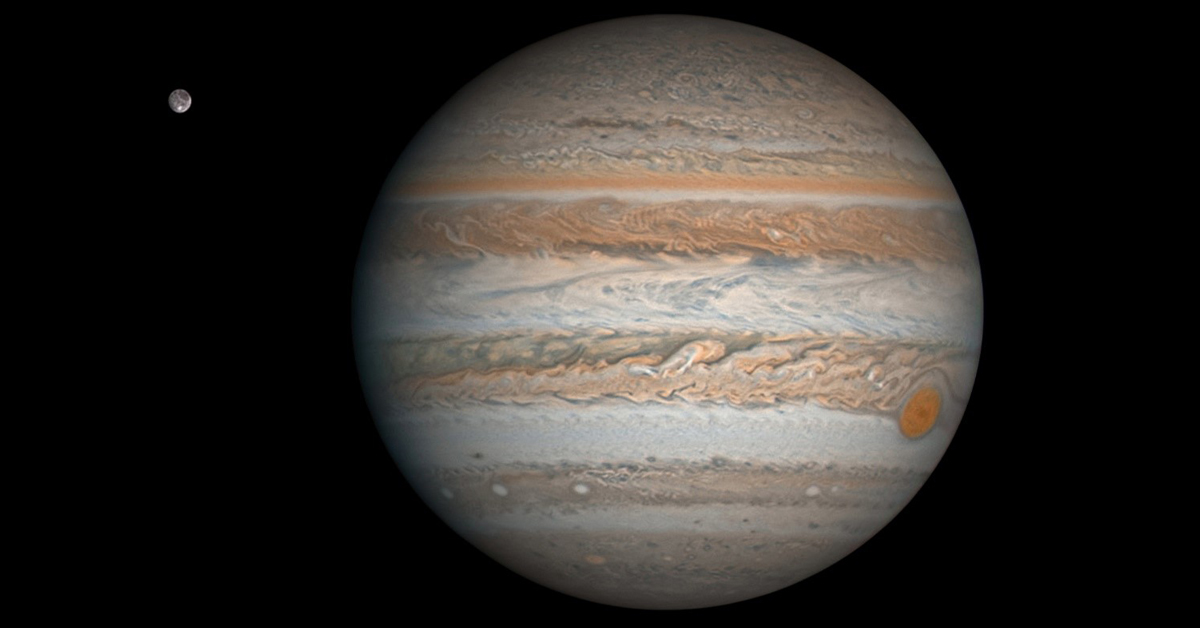
What software should you use to image the planets? If you are a user of ASI cameras, then you are lucky, today we will show you the automatic shooting planet function of ASICAP, the original shooting software of ASI camera.
The auto guiding and plan shooting function in ASICAP is very easy to use! Look at the main interface first.
The auto guiding function is similar to the guiding in deep space astrophotography, which can correct tracking error at real time through the ST4 port. First, you need to set the parameters of the ST4 Auto Guide.
Connect the ST4 port of the equatorial mount to the ST4 port of the camera with the ST4 guide star line (requires camera support), click the telescope button, or the setting button, and then click the ST4 Auto Guide option, as shown below:
Guider cycle time (ms): The frequency at which the target is deviated, i.e. how often it is detected.
Correction time (ms): Controls the movement time of the equatorial mount.
Tolerance (pixel): If the number of pixels from the target position is less than the set value, the correction is considered successful.
Swap direction: Reverse the horizontal direction (Flip X), reverse the vertical direction (Flip Y). When the star is automatically guided, if the direction of the equatorial motion is found to be incorrect, the corresponding direction reversal is required.
Show target cross: Marks the target position of the guide.
After applying the above settings, you are free to experience the auto guiding function then.
After clicking the telescope button in the shortcut bar, in the upper right corner of the image display area, the panel of the automatic guide star is displayed, as shown below:
Click the play button in the middle to start the automatic guide star, as shown below:
When the guide is started, a crosshair is marked at the center of the target. When the target center is offset from the crosshair, the equatorial mount is controlled and the target center is pulled back to the crosshair. Click the red stop button to stop the automatic guide.
With the automatic guide star, you can track the target for a long time without worrying about the target drifting out of frame. Now let’s move to next step.
Click the button to pop up the Auto Run window, as shown below:
Auto Run panel with filter wheel
First select the appropriate filter and set the parameters such as exposure, gain, and number of frames. When you start shooting, the filter wheel will rotate to the preset mirror position.
If the computer is not connected to the ASI motor filter wheel, the filter column will not be displayed. Just set the exposure and gain, as shown below:
Planning the shooting panel (when there is no filter wheel)
Exposure: In milliseconds (ms), set the exposure time of the camera when shooting starts.
Gain: Set the camera’s gain when you start shooting.
Limit: Set the shooting limit when starting shooting.
Between Delay: The unit second(s), the delay between shots.
Click the blue add button to add a shooting plan and click the button red subtract to remove the last shooting plan.
All Capture Plans Progress: Shows the overall progress of all shooting plans.
Repeat Rounds: The number of times all shooting plans are repeated.
Image – Video: Select the type of scheduled shot, grab an image, or record a video.
Delay First: When checked, when the scheduled shooting starts, the time is set after the delay is set.
Click the run button to start Auto Run. The planning process is as follows:
Click the stop button to stop the scheduled shooting.
The planned shooting is completed, as shown below:
In the ASICAP version 1.6, we have made some operational optimizations for this program, which is more convenient to use than before.

Recently, a major discovery by an international team of amateur astronomers and scientists has become a huge online hit, and this new discovery is just located in one of the
Why the Orion Nebula Never Gets Old – Each winter, stargazers return to this cosmic masterpiece to test new skills and relive the wonder. Explore the Orion region’s iconic nebulas,
In 1994, I built my first fully functional reflecting telescope in Hungary with my own hands. In the former Eastern Bloc countries, telescopes still could not be purchased in stores
1.How It All Began I have been a fan of astronomy since high school.Starting from a school event where I can see the moon up close through a telescope.When I

1. How It All Began For Puig Nicolas, it all started at the age of 10 with a 60/700 refractor and a 114/900 reflector. His first celestial encounters — the
By day, David Cruz works as a digital designer. By night, he designs something far greater — images of the universe itself. “Since I was young, I was always interested
54 Comments
Robert Brenner
Wow, that means you can use Jupiter as a guide star while taking videos of Jupiter with the same camera.
Does that work with the moon as well? Sorry can’t wait for the moon to come around 🙂
Cheers
Robert
Katherine Tsai
It may not work well when you are capturing the part of the moon.
fixmycomputertoday
Does the telescope need to be polar aligned for this to work?
Katherine Tsai
No, it does not.
fixmycomputertoday
Awesome! Thank you!
fixmycomputertoday
Will this work with the ASI183MC Pro using a USB cable.
Or another way to do this with the ASI183MC Pro?
I was really hoping to try this so I bought the ASI183MC Pro not realizing it doesn’t have an ST4 port. 🙁
Katherine Tsai
Sorry it can not.
trevor coleman
hi, I am really new at this and was lucky to start with the asiair pro having mucked about with a laptop a few times. My question is does/ will the asiair pro include asicap? if so where , if not will it???
cheers and keep safe
Moson
ASIAIR PRO has its own software that is different from ASICAP,and this software is mobile phone software that cannot be used on the computer.
Stefano
….unless you use an android emulator in windows, right?
Moson
We have ASIStudio software which include ASICAP.
There is the link for your reference:https://astronomy-imaging-camera.com/news/what-is-asistudio-and-what-can-it-bring-us.html.
Bigfish
Will this work the moon using a ASI120 mini and the mini guide scope?
Moson
Yes, it can work.
Thierry
hello
why is there not the possibility of making the planetary frames in SER format ?
thank you
Moson
Because we want to unify the format for easy post-processing.
Enzo D’Ignazio
Is it possible to use with an Alt-Az mount as AZ GTI?
Enzo D’Ignazio
Excuse me: AZ GTI does not
Katherine Tsai
You may want to try ASIAIR.:)
Odo Siahaya
I am new at using ZWO cameras and I am also new at using ASISudio. When I try to image a planet or the moon with ASICap, all I get is a series of images, like a dozen or more depending on the “Limit” setting. But there is no final image that should look better than each single images. What am I doing wrong? After all, why would I want dozens of images of the same thing where one does not look better than the other. If they are supposed to be stacked, then it is not doing so. I am using using an ASI462 camera mounted on a 8″ Meade LX90 GT, and a MacBook Pro laptop. Thank you!
ZWO.Moson
You can take videos of planet or the moon with ASICap, and stack in the post-processing software.
Odo Siahaya
Will ASILive stack the planets and the sun or is it only for DS objects?
I am looking for some way to present a stacked image of a planet or DS object in near-real time to the public on a monitor. I do not expect a perfect image, but something that is better than what is on the preview screen. Would I have to use a different camera?
ZWO.Moson
Sorry the ASILive can only stack the DS objects.
Odo Siahaya
Please disregard my previous questions about using ASILive for stacking the planets. I just read your reply to my previous question of Oct 12.
Which ZWO camera would you suggest for near real-time planetary and sun use?
ZWO.Moson
We suggest you use ASI462MC camera for planets, and ASI174MM camera for sun.
Odo Siahaya
Is ASICap supposed to stack the images automatically? If not, how do you stack them in ASIStudio?
ZWO.Moson
Sorry the ASICap can not stack the images. The ASILive can do the live stacking. If you want stack the planet images, you can do it in the post process software.
Odo Siahaya
Thank you for your prompt reply! Is this post process software included in ASIStudio, or do I need to install software like Registax or Autostakkert?
ZWO.Moson
Sorry the post process software does not included in ASIStudio. You need install Registax or Autostakkert.
Odo Siahaya
Hi it is me again, can I stack planets with ASILive? Would the final stacked image show on the screen? About how many frames need to be stacked to get a good image of, for example, Saturn? Or how long should the video be? Would it use the planet itself as a guide “star”?
Thank you!
ZWO.Moson
Sorry the ASILive cannot stack planets. You can post this topic on our forum, we can have a discuss.
Elizabeth
Hi there,
Can you save as .fit or .fits files from ASICAP? The images are currently only saving as .PNG but I need fits
ZWO.Moson
Yes, the ASICap can save the images as fit. files. You need change the image format from RAW8 to RAW16.
Keith
I tried my ZWO ASI224MC Colour for the first time tonight, it only arrived this morning. I used a Barlow x3 and connected the camera via that. I located Mars, focussed, and was impressed by the size of the image on screen, but it was very overexposed showing only a red tinged circle. I could not find anywhere how to adjust the exposure and would be grateful if that could be explained or point me in the right direction where the info is. Thank you.
sara.liu
Please use the software, like ASICAP to adjust;-)
kaushik
I have the same exact problem with Jupiter and I tried setting exposure and gain but not successful. Is there any tutorial that shows how to use ASICAP for beginners?
Support@ZWO
Right corner of ASICAP, you can find “Help document”.
Adria
When using my new 183 MC last night, I took a few movies of Mars and Jupiter that were saved as avi files. However, when I try to play these files back in VLC, there’s no picture displayed. These files are huge, but I can’t find a way to open them. What do you suggest?
sara.liu
VLC is able to play avi files, we have tested. In addition to avi, other common players, such as Windows media player, QQ video and potplayer, all of them can play avi.
Marc
Hello
Just try my new385Mc. When using the planet preset from asicap i am far overexposed with my c9.25
And the avi file are not directly recognized by registax. I have to use a software like Pipp before.
marc
the tutorial above, let me think that i can use my camera for guide my mount a shoot a planet at he same time, is thaht correct
sara.liu
Yes, you are right;-)
deepa mohan
ASI224MC camera with celestron evolution8 . Focused on Jupiter/Saturn, then removed the lens and connected the camera. Turned on the camera, tried focus, gain, exposure. Only blank/dark screen. What I am doing wrong? Tried the same with the moon, no luck. During the day I was able to take pictures of a tree a mile away. Any beginner tutorials?
Support@ZWO
Have you tried GoTo function in Air, I think it is more convenient for you.
Tom
Does the autoguide function work with a Celestron 8se alt/az mount? On planets of course 🙂
Support@ZWO
We havn’t tested this and you may have a try.
LH
Is ASICAP available as a stand alone download? According to my new ZWO camera quick guide, that I just received, it tells me to download the ASICAP software and install it. That should then allow me to test the camera.
thanks,
LH
Support@ZWO
ASICAP is integrated in ASIStudio.
Javier
What programs can I handle the huge black and white avi generated by ASIAIR pro? Thank you
sara.liu
It is hard to avoid it, you can only deal with it in the post-processing.
Neil O'Farrell
Is there some kind of guide to what exposure to use when imagining Jupiter/saturn? I have Zwo 385 and i cant find any tutorial vides online
Thank you
Neil
sara.liu
Sorry, we don’t have the guide you mentioned yet, I think you can check it out on YouTube.
We invite you to join our group.
https://www.facebook.com/groups/zwoasiusers
Liu
Do you have a tutorial for the ASICAP in Android phone?
sara.liu
Sorry, do not have it yet.
Vad
Awesome option! Does it work on asiair? Can i put a solar film on my ZWO f/4 guide scope and guide on the Sun with my 178mm camera without laptop or any other devices?