It is the season when the cold air is raging, while my ASI071MC was returned for maintenance, I am honored to get an invitation from ZWO to test the latest one-inch color cooled camera.
What is ASI533MC-PRO?
The core of a camera is the sensor and the one used on ASI533MC-PRO is Sony IMX533 sensor. It is the 5th generation CMOS sensor launched by Sony this year, which is widely used by many major manufacturers on 360-degree 4K panoramic cameras.
While in the field of panoramic cameras, the transmission frame rate, sharpness, sensitivity, and low noise have always been the most important indicators.
The sensitivity and low noise sound familiar to you, right? This is exactly what astrophotography needs! Meanwhile, the square CMOS sensor makes it more convenient when doing photographic .
There is no need to turn the camera significantly to make the long side conform to the direction of an elliptical galaxy, which will avoid causing problems throughout the system. A slight rotation of the square sensor within 45 °can be enough for finding the best framing direction.
Unboxing
Official delivery from ZWO is very attentive with price insured every time. The SF deliveryman who arrived at the community site at 6:00 am is also very efficient, he called me to sign for it when I was in bed. I unpacked to enjoy this camera as soon as returning home from work.

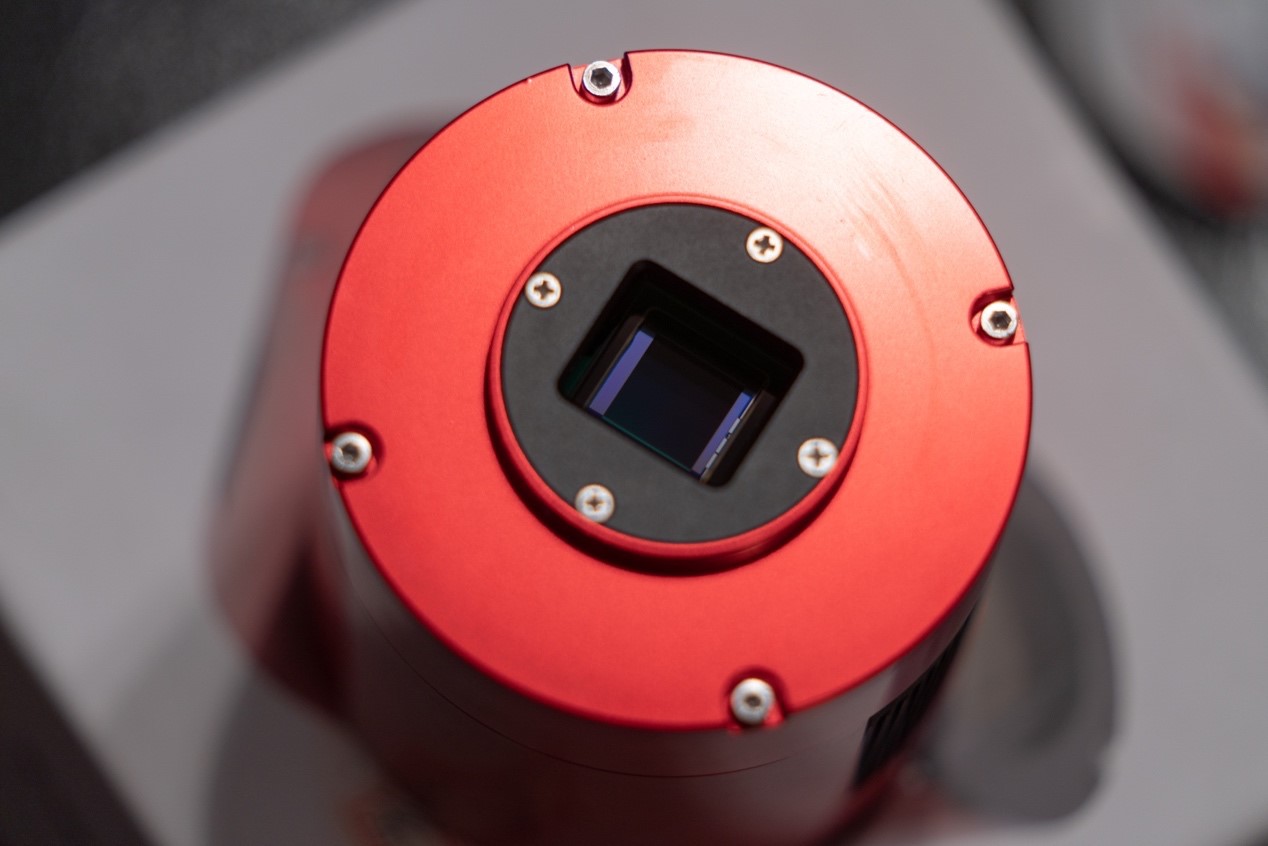
This camera comes with Ferrari Red housing equipped with a USB 3.0 high-speed interface.
Simultaneously, the two USB 2.0 HUB interfaces of this camera can be easily switched to guide cameras, equatorial mounts and other devices without too much wiring.

On the front of the camera is the M48 female thread with a 17.5mm CMOS back focus. The black part can be disassembled into M48 male thread with 6.5mm CMOS back focus.

After removing the M48 female thread adapter, the M48 male thread can transfer digital camera lens adapters and other third-party equipment more easily.
On the side face is the Integrated TEC cooling.
Installation
Since ZWO cameras adopt standard design of screw thread, I can easily use them on my entire stable ASI071MC optical system.

The back focus of ASI533 MC camera is 55mm with same interface, which can be easily installed on this entire shooting system.
ZWO OAG is used as off-axis guider, and ZWO ASI290mini with high sensitivity is used as the guide camera. Then use the original USB2.0 to Type-C cable, connecting to the ASI533MC USB HUB.
I want to emphasize that Off-axis guiding is refracted by a triangular prism on the optical path that replaces the guider scope.
Like the 071MC camera I used before, a little inclined when the camera is installed; Triangular prism covers the CMOS chip which finally makes cropping necessary on pictures.
As ASI533MC camera has square CMOS, situation above will never occur. I can rotate the camera as I want.

Look at the side of this camera, it’s compact but with strong performance.

Take a photo of the entire optical system. Next, connect the camera to the computer and run a test with the software.
Software test
As an astrophotography cooling camera, the first thing we need to pay attention to is the driver.

SGP and NINA have identified this latest camera through the driver for the first connection, right after downloading the latest v1.0.3.26 ASCOM driver from ZWO official website.
For the astronomy cooling cameras, “cooling” is another most important feature.
Cooling can keep all the pictures taken under the same working environment, while the SIGNAL NOISE RATIO of the captured pictures will not be lost and the entire set of pictures will still be valid when performing the post-processing.

Connect the camera to a 12V 40Ah lithium battery, the environment temperature is 18 ° C, humidity at 70%, cooling at minus 15 ° C, and the cooling power stable at 87% in the room.

4 seconds of Master Focus Dark at Bin 2 * 2. The dark current is very uniform, which is why there is no horizontal stripes or vertical stripes of short exposure of digital cameras.
This focus dark field is used on the camera, The result of superimposing 100 biases and 100 dark field calibrations on Bin 2 * 2 by default【Unity Gain】 (100 gain 70 biases 40 USB readout speed). Shooting focus dark field helps the software to evaluate the accuracy of the star HFR after auto-focusing through EAF and automatic shooting software during field shooting.
Right after testing the cooling and shooting the focus dark field, the next day happened to be sunny. All equipment was packed and put in the trunk, waiting to be operated for the First light.
First light
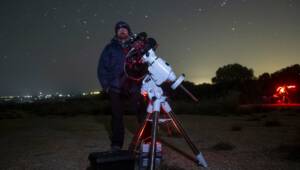
Gathering local astrophotography lovers, everyone drove to the top of the mountain successfully. without clouds.
The altitude here is 1463m, and it is in the dark space zone of Bortle 3. The southwest wind was at level 0-1 before midnight, while the northwest wind was at level 1-2 after midnight. Temperature 10-6 ℃, humidity 95% -60%, zenith seeing 0.7 ~ 0.8, zenith sky light 21.45 ~ 21.75 mag, 11.8% of the moon rose from the east after 3:40 a.m. in the next day. It was a pretty good astrophotography winter night. It seems that there is no law of first experience for testing a new camera.

After setting up the equipment, we adjusted the level as well as the balance, connected the power and data wiring, hidden in the trunk of the car, connecting the computer and turned on the setting up, waiting for darkness.

I’ve heard from many antecessors that if 1inch sensor equipped with long focus lens, little stars can be seen because of the small field of view. Performing declination rotation analysis on polar axis through shooting software is not available.
I tried it tonight, but found that a single 10-second exposure using bin 2 * 2 can easily align the polar axis to within 20 arc seconds, as long as it is not more than 5 ° from the North Star.
Time is valuable during outreach. Polar axis alignment ends now as the darkness comes.
Let ’s do the camera pre-cooling and prepare to execute the scheduled shooting plan.


At this moment, as the high-pressure with warm air is above us, the outdoor temperature/ the humidity/ the air pressure and the wind speed are 14.1 ° C / 92% / 853.00hPa and 0.8m accordingly. ASI533MC is cooled directly to minus 15 ° C by using rapid cooling, Power stabilized at 52-53%.
After shooting the bias, we start the focusing.

The focus setting is at 4 seconds Bin 2 * 2 [UnityGain] dark field, the same setting as shot indoors at -15 ° C the day before.
Best HFR is obtained on the 800mm F4 Newton reflector.
Start shooting, now!
Note: The following pictures use camera defaults「Unity Gain」(100 gain 70 off set 40 USB readout speed), the Readout noise is 1.53e-, picture at Bin 1*1. Meanwhile, the dark field, bias, and flat field calibration haven’t been performed due to time reasons, and no post-stacking has been performed, either. Please kindly note all images below are screenshots.
M45 as the first target, shot at 5 minutes each frame, 1 hour’s shooting in total. When the image came out and kept as original without debayer, I was already shocked!

The shooting software showed as below at that time:

5-minute single picture. Here’s what it looks like in PixInsight after doing only debayer and stretch. The blue stars and clouds of the M45 Pleiades are already very clear.
Besides, ” Microlens Diffraction Effect ” of bright stars like Pleiadess on chips such as IMX183 did not appear during a 5-minute exposure.
Second target-M42 Orion Nebula. Since the center of this nebula is very bright, we took two sets of pictures, one for one-minute per frame and one for five-minute per frame.
Total exposure time at 1 hour and 20 minutes and then get prepared for subsequent post-compositing HDR images, so that you can have the details of the central bright area, as well as the details of the dark areas of the edge.
Wow! !! Wow! !! Wow! !! After I got the first 1-minute image, I was so excited and my shouts woke up other photographers nearby.

The capturing software showed as below at that time:

Here’s what it looks like in PixInsight after doing only debayer and stretch. It is only 1 minute for this single picture that the Big scallop details are basically shown out, the sky background was so net and clean.
You can hardly see any random red, green and blue thermal noise that has been criticized on color sensors.
All of a sudden, I had the illusion that I was processing the post image of a mono camera.
The third goal was the IC434 Horse Head Nebula shot at 5-minute per frame. Plan was to shoot from mid night to 5:40 AM.
I had covered the quilt and fell asleep in the trunk, but the screen record of my computer still recorded amazing shooting pictures.

The recording screen in the capturing software was like this.

Here’s what it looks like in PixInsight after only doing debayer, stretch and DBE. 5 minutes per frame.
Seeing the original image in black and white without debayer, there’s a kind of instant vision when using a mono camera and a H α narrowband filter on shooting a narrowband channel.
The astronomical morning twilight is about to up. Following the computer’s shooting ending, the alarm was on and awakened me with sleepy eyes.
At this blue moment, I shot 100 frames on the spot when the moon rose to about 40 °.

9.5ms per frame, without debayer or calibration, nor stretch. The light & shade transition is comparable to a mono camera.
Conclusion
As the deadline of this review article is approaching, I’m not available to take enough dark field for main dark field calibration. The superimposed images may be shown in the next article, in the comparison of the three chips IMX533, IMX071, IMX294 and the comment of pictures.
I can’t help but think of a problem when I see the single image after doing only stretch and debayer.
If you only shoot with LRGB instead of narrowband filters, is it really necessary to input two or three times the money, energy and time to buy mono Pro cameras under the current trend of extremely low readout noise and high sensitivity of the sensor chip?

End.
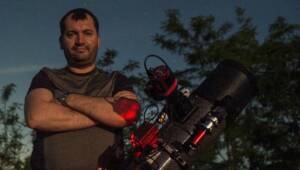
Maple Gao




6 Comments
CC
Great review! But is the thread on front of the cam really M48? The manual says M42x0,75.
See page 14 of https://astronomy-imaging-camera.com/product/asi533mc-pro-color
Katherine Tsai
It is M42*0.75.
asafanbu
Thanks for the review. I hope I can soon get this camera and make a review for amateur astronomers in Russia.
Katherine Tsai
Hope you can get it soon!
I am looking forward your review.;)
Cristian
When the delivery of these cameras will start? I am on the waiting list and I am looking forward to receive mine !…
Katherine Tsai
We will arrange the shipment according to the order number, you can send me your order number and my colleague will check it for you.