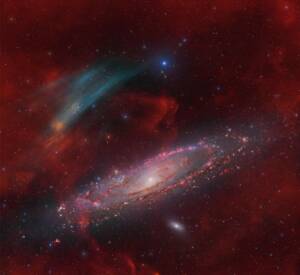
Discovery of the M31 [OIII] emission arc
Recently, a major discovery by an international team of amateur astronomers and scientists has become a huge online hit, and this new discovery is just located in one of the
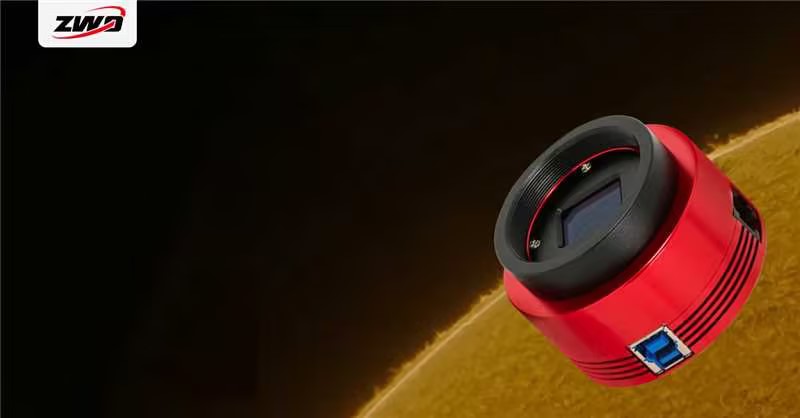
—— Wrote by Yixing Zhang, translated by ZWO team.
In 2022, ZWO released a new monochrome planetary camera, ASI432MM. It features the global shutter and especially suitable for solar imaging, as ZWO stated in the product description. Yet somehow it seems that solar imaging is not that popular compared to other sorts of astrophotography, such as DSO imaging. If you have noticed, the last ZWO camera designed for solar imaging, ASI174MM, also being the predecessor of ASI432MM, was released in 2015.
But later than never. I’m so glad to see ZWO takes one more step forward to the field of solar imaging 7 years later after 2015.
ZWO has made many planetary cameras during the past seven years, including ASI290, ASI462, AS662, ASI485 and ASI585, but none of them features the global shutter. For people who might be still not familiar with the difference between rolling shutter and global shutter, here are a GIF explains well how these two shutter modes work.

Normally when we photograph the Sun, we need an optical system with very long focal length, 2000mm for example. The long focal length will greatly zoom in the solar phenomena occurred within the atmosphere of the Sun, such as solar flare and solar prominence. In this case, even the slightest winds or human walking might lead to significant spatial distortion to your image. Such phenomenon is also known as jello effect.
As the GIF shown below, the left animation are simulated with a global shutter camera while the right one are simulated with a rolling shutter.

Be note that the jello effect sometimes tends to be confused with the pulsation caused by poor seeing, which normally appears when Earth’s atmosphere is turbulent, but these are two different things.
ASI432MM vs ASI174MM
So with the same global shutter, what’s the difference between ASI432MM and ASI174MM. How many improvements has this new camera achieved?


According to the side-by-side comparison chart provided by ZWO, we can see these two cameras shares similar QE peak value. But ASI432MM has a larger sensor format, larger pixel size and nearly 3 times larger full well capacity.

The larger full well depth brings the camera stronger sensitivity, which in theory allows you obtain solar images with finer colors and subtler local details.
Actions speak louder than words. This month I get some clear night skies so I manage to take some solar photos with ASI174MM and ASI432MM.
A SkyRover 90 APO Pro is mounted on ZWO AM5. DayStar Quark 4.2x, Optolong 2” R filter, and ZWO ADC are used.
The initial and most direct feeling these two cameras brings are very amazing – I mean, just look at the FOVs I got!

If you are doing mosaic for your solar project, then the size of FOV you get will be very important. In my case, the use of ADC will bring the decrease in image quality at the edge. Thus we need to expand the overlap area. With ASI174MM, we need about 16~20 panels to composite into a full disk. While with ASI432MM, thanks to its 1.1” large sensor format, you might only need 10 panels.
This can mean a lot for solar imagers. You don’t have to keep exposed to the sun for a long time and bear the scorching heat. Also, with the continuous change of chromosphere, the details of plasmasphere in last frame normally have changed a lot compared to the initial frame at the very beginning, which will make your composition process very difficult. Therefore, reducing the mosaic panels to shorten the full shooting time for your project can be very necessary.

Next, let’s talk about the dynamic range of these two cameras and the effects they have.
Like other new ASI cameras, ASI432MM also has the HCG (High Conversion Gain) mode. Some DSLR users might know it as Dual ISO. This is a special technology that allows you get high dynamic range at high gain as what you normally only can get in low gain.
There are so many phenomena on solar chromosphere, such as prominences, sunspots, flares, filaments, etc. The brightness difference of these phenomena is huge, so in the early days solar imagers had to learn the special way of multi-exposure image fusion to generate high-dynamic-range (HDR) images, and to bring out the details of both sun surface and prominence. This method is no longer necessary in nowadays. With native high dynamic of ASI432MM, you can capture the details of sun surface and prominence at once with ease.
You may see clearly in the chart below that the HCG mode of ASI432MM is activated at gain 140, while the dynamic range in this case can still reaches 12stops. Yet for ASI174MM, you can only set 0 gain to get 12 stops dynamic range.

Let’s do a little experiment here. To get the same brightness with these two cameras, which means the peak of their image histogram should be roughly at the same position. Takes pictures under 12stops dynamic range, the required gain value for ASI174MM is 0 and the exposure time is 80ms, while the required gain value for ASI432MM is 140 with an exposure time of 15ms.
Of course, such an extreme setting is seldom used by solar imagers, but it explains the benefits of HCG mode in a good way – High dynamic range and short exposure for single frame are not an either-or thing any more. You can get them both. This makes ISS imaging and lunar transit
This is very useful when shooting the transit of the space station and the transit of the moon. At this time, we need both ultra-short exposure and as high a dynamic range as possible, so as to avoid artificial celestial bodies from blurring and at the same time clearly distinguish the celestial bodies. detail.

Recently, a major discovery by an international team of amateur astronomers and scientists has become a huge online hit, and this new discovery is just located in one of the
That 11-year-old boy staring at Horsehead Nebula photo would never have imagined… Decades later, he’d be capturing amazing deep-sky images from his Florida backyard! “ It was amazing to see
Hello,Sara Harvey,thanks for accepting our interview invitation. Congratulations on winning the ASIWEEK competition in week! Q1: At first, congratulation that your nice image won #ASIWEEK. Can you introduce yourself to
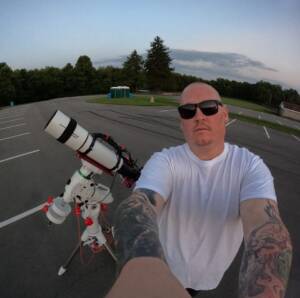
Astrophotography is more than just capturing images of the night sky—it’s a journey of discovery, patience, and creativity. For this passionate astrophotographer, what started as a chance encounter with a
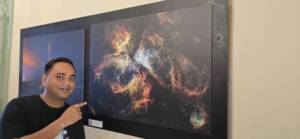
Taranjot Singh, an Indian origin Australian astrophotographer who is making waves on the international stage. Taranjot has been recognized as one of the Top 5 finalists in the prestigious Siena
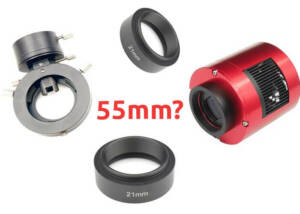
The back focal length is advised by telescope manufacturers. Since most telescopes have a 55mm back focal length, we are here to provide detailed instructions for all ASI cooled cameras.Please