Discovery Astrophotography with ZWO ASTRO

Description
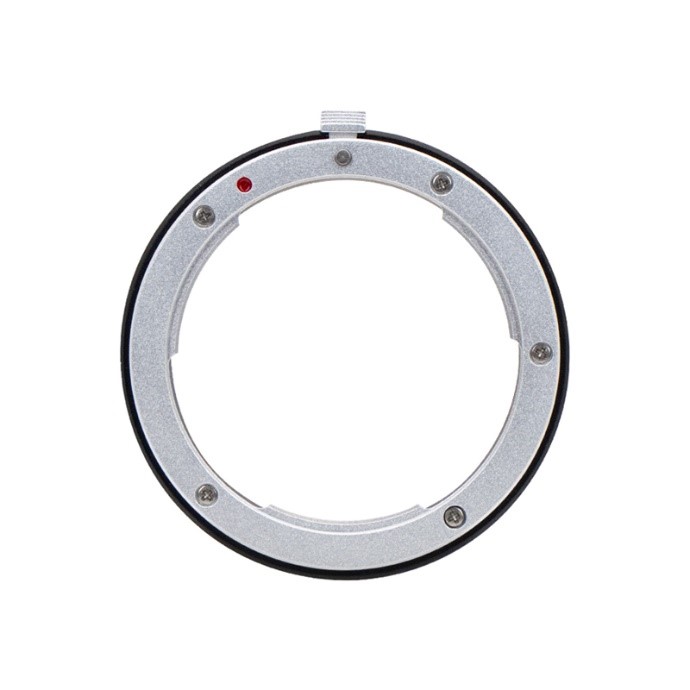
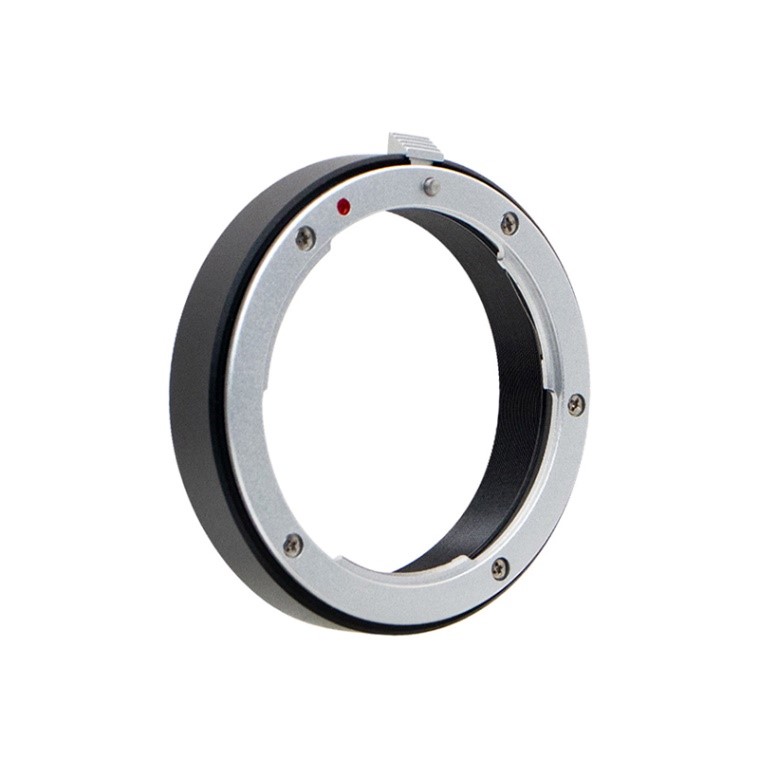
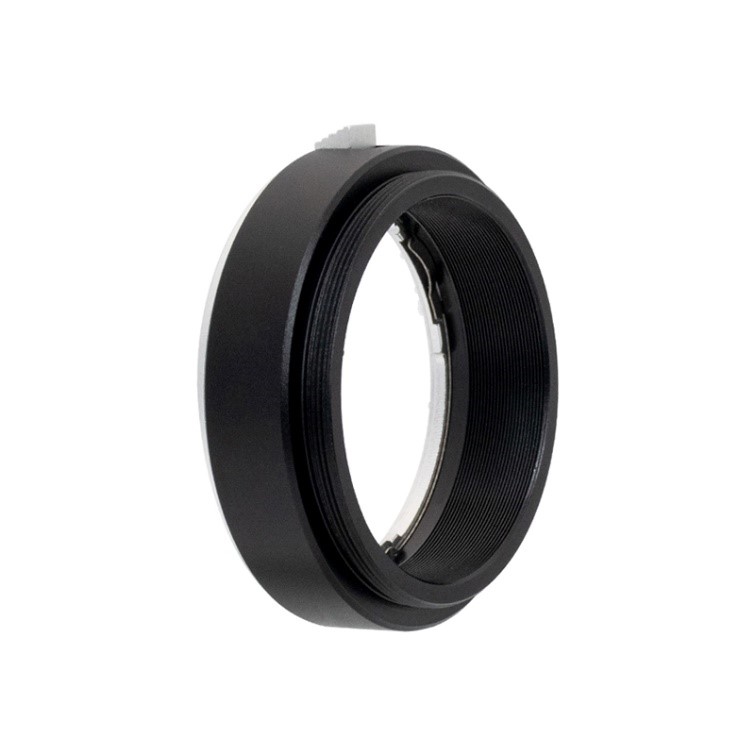
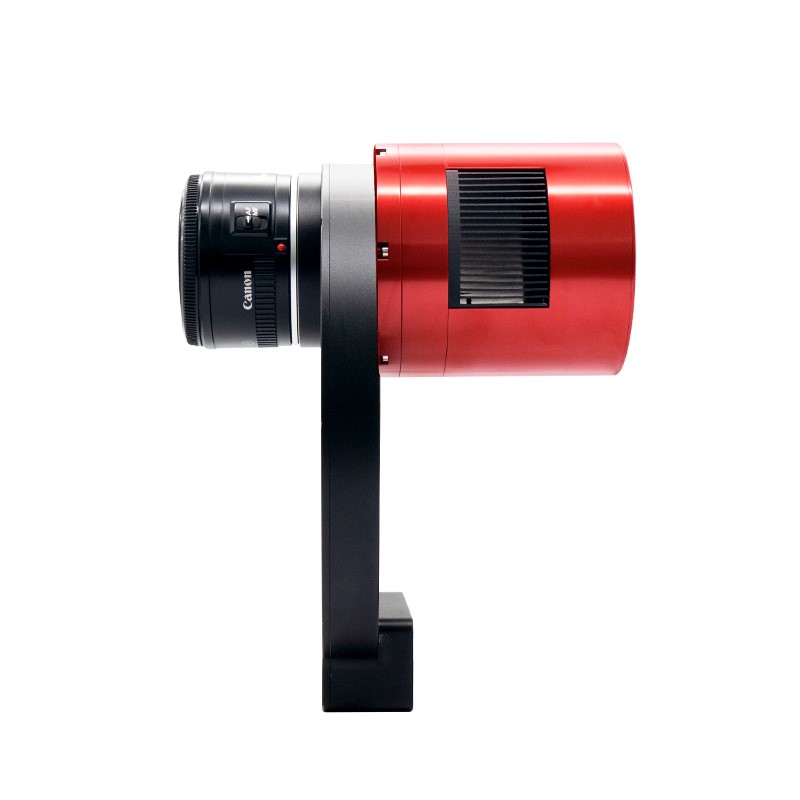
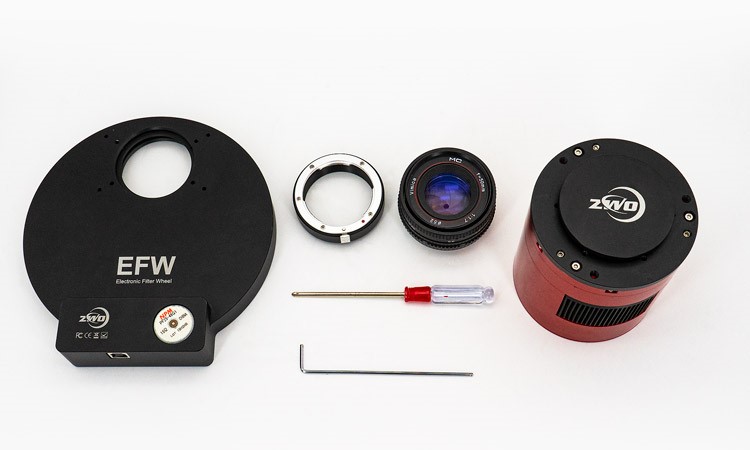
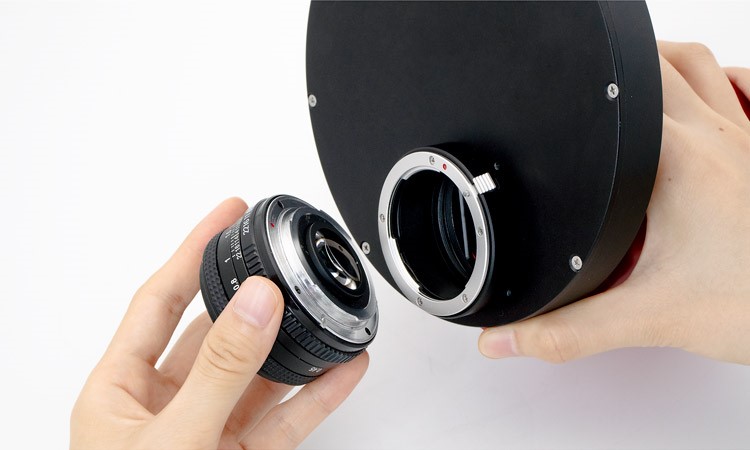
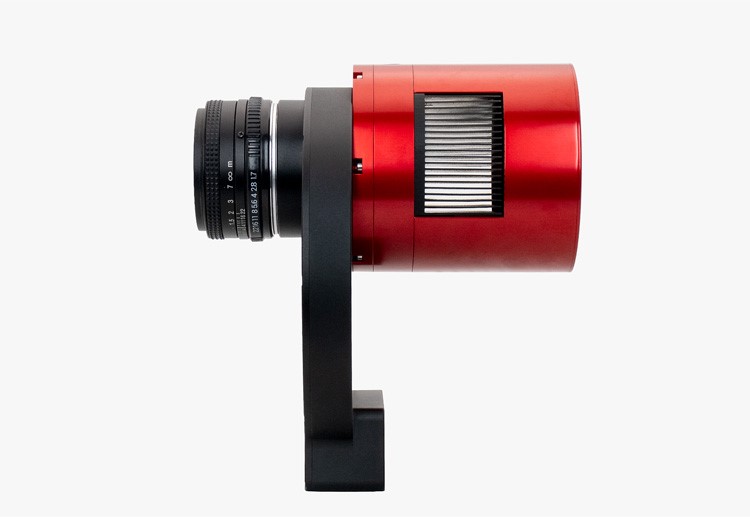
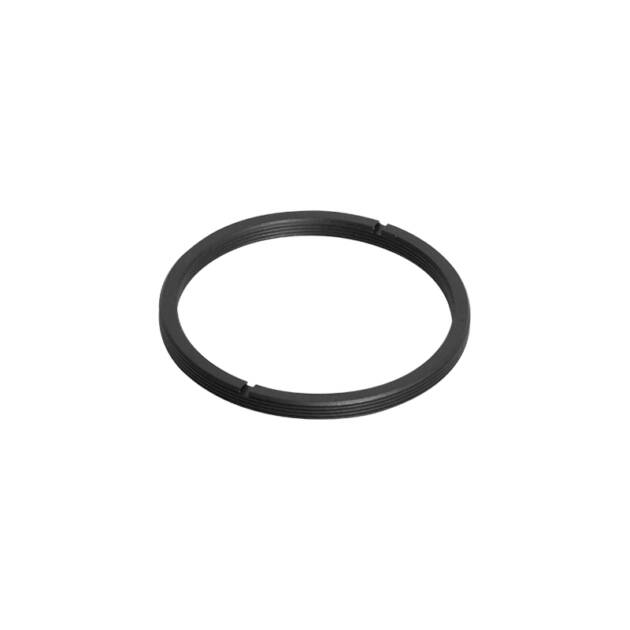
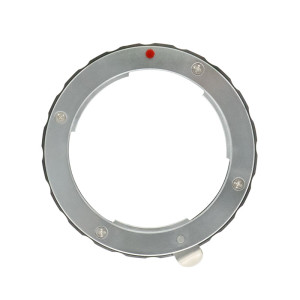
Nikon lens adapter that can be used to connect Nikon lens to 2”EFW.
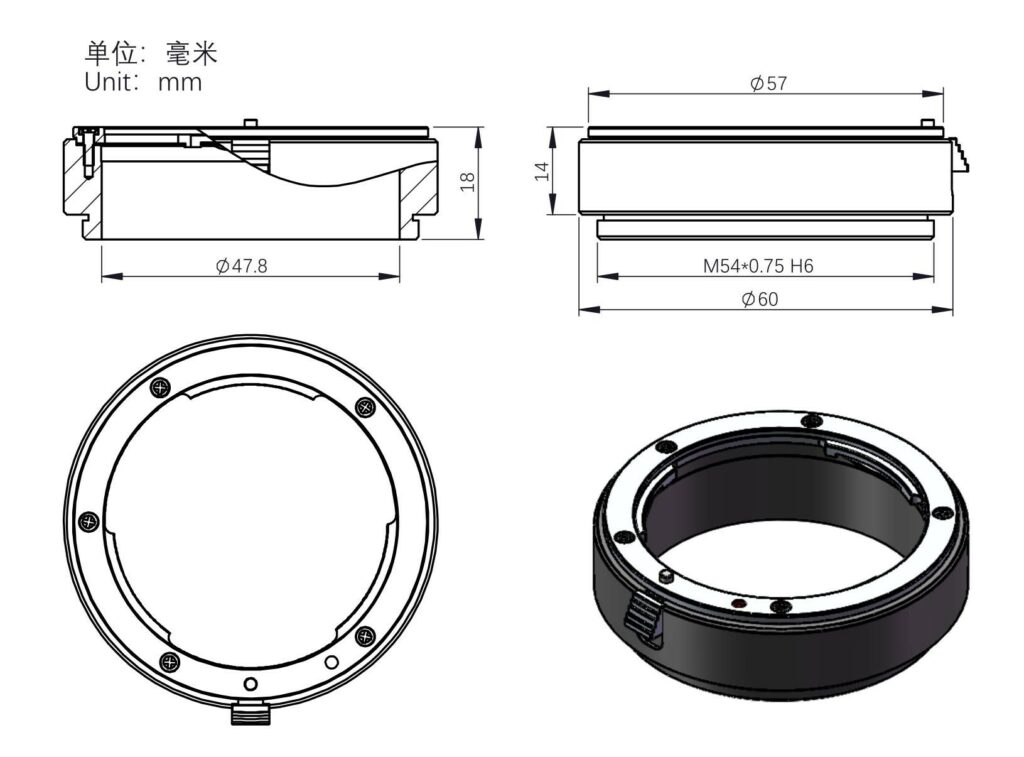
The thread of the interface is M54*0.75, which means it can only be mounted on 2” EFW, not suitable for 1.25”/31mm/36mm EFW.
Connection Method:
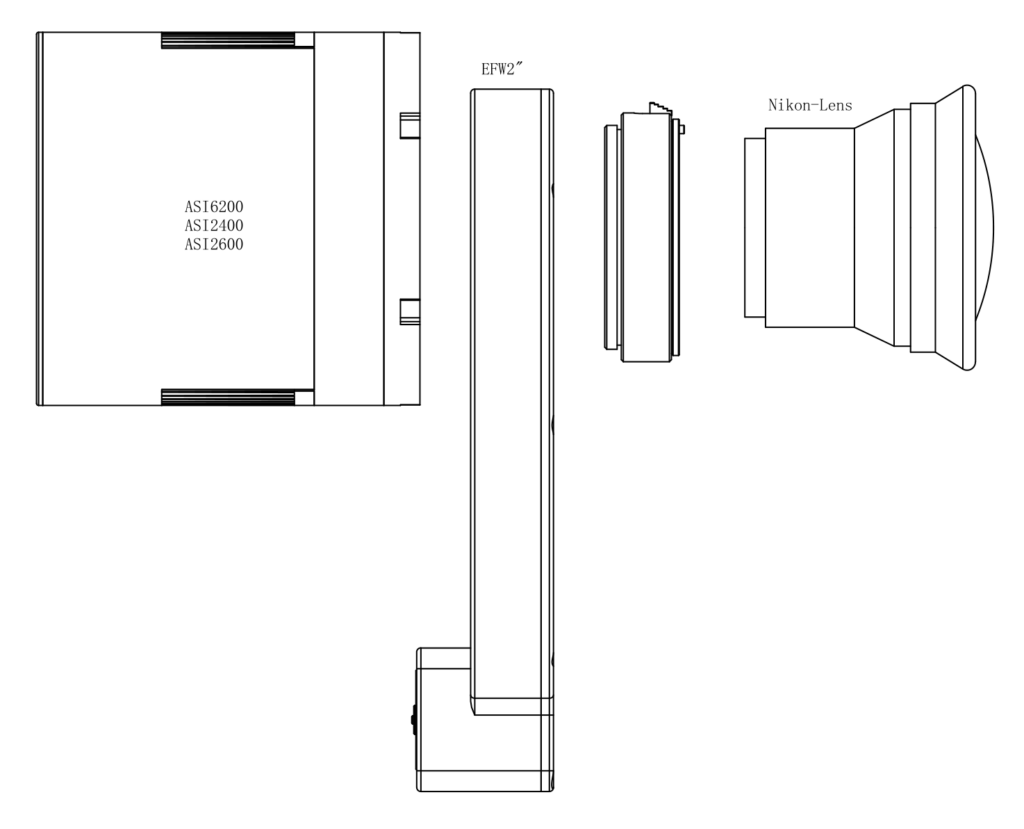
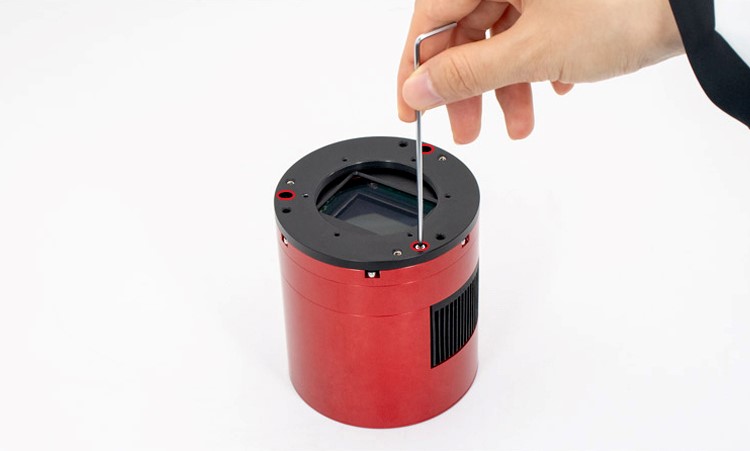
Note: The sensor tilt adapter need to be removed before you connect the camera to the 2” EFW.
Detailed instruction:
1. Prepare the ASI camera, Nikon lens adapter, Nikon lens, 2” EFW, screwdriver and hexagon wrench;
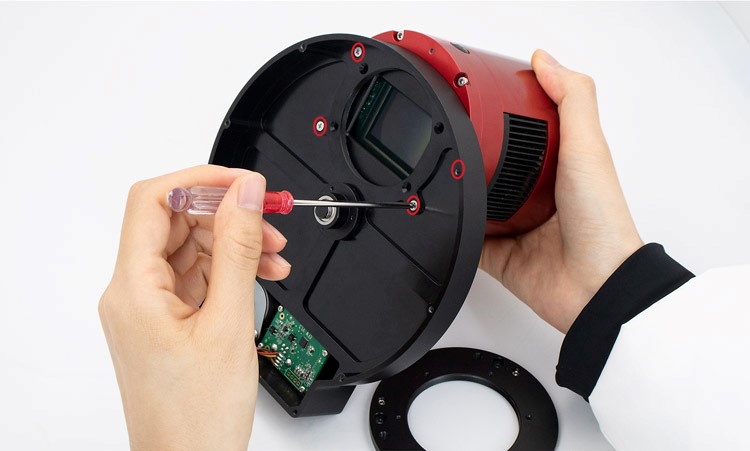
2. Use the hexagon wrench coming with the camera to remove the sensor tilt adapter;
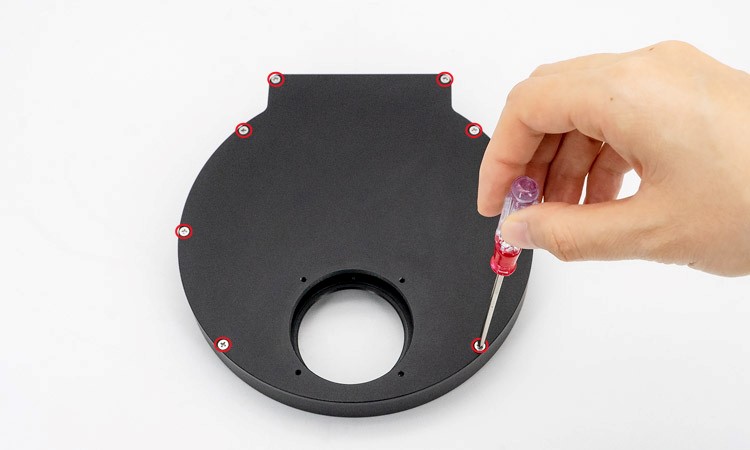
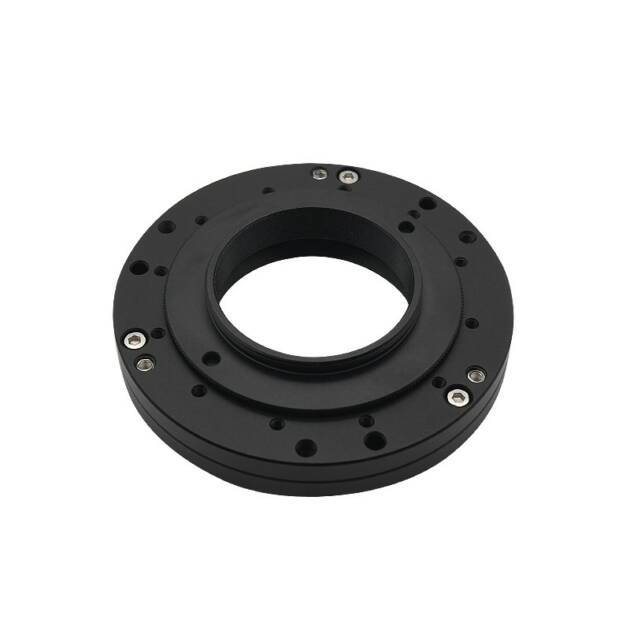
3. Use the screwdriver to remove the back cover of EFW;
4. Disassemble the filter wheel carousel (Note: Please do not disassemble or move the central screw of this carousel, otherwise the EFW will be damaged);
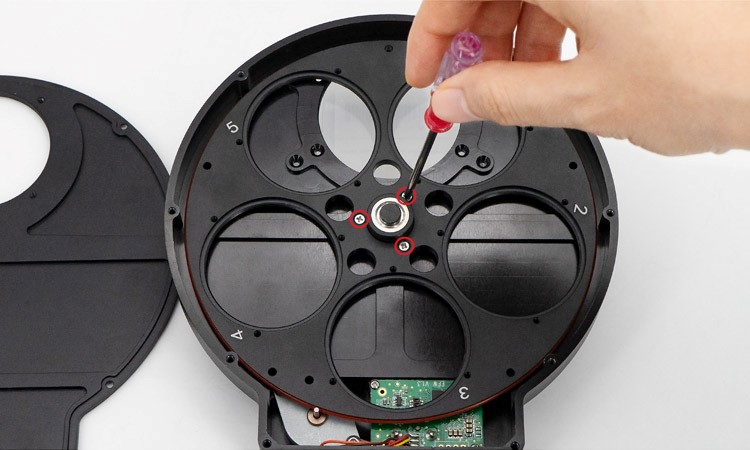
5. Align the four screw holes of EFW with these in the four corners of the camera chip as shown below. Tighten the screws;
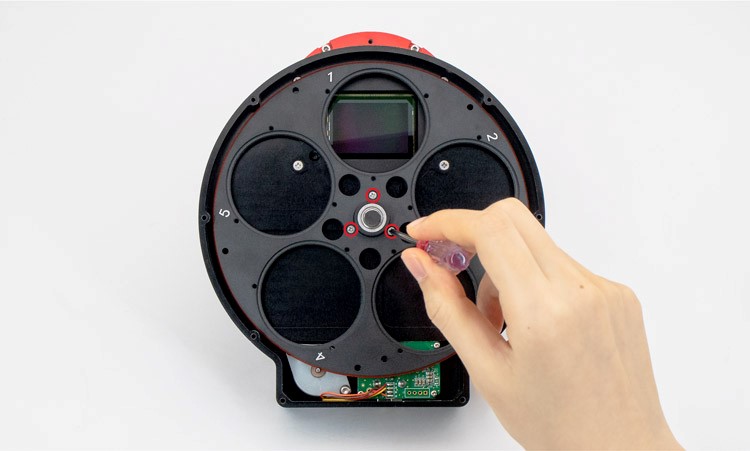
6. Reassemble the EFW;
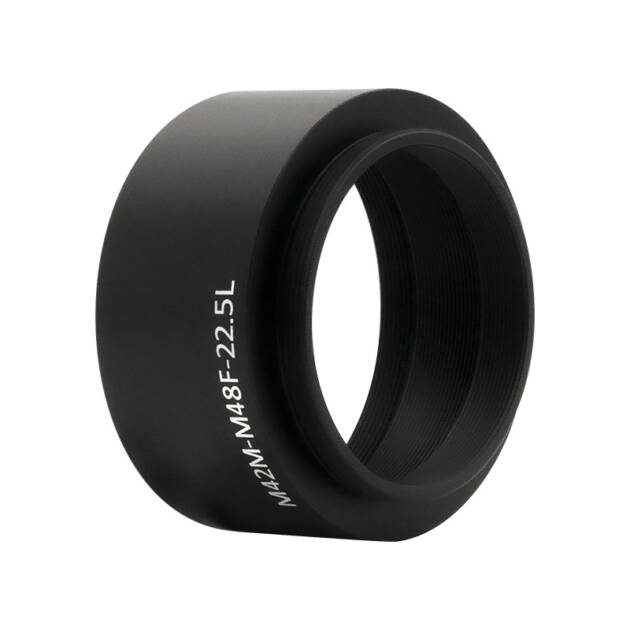
7. Mount the Nikon lens adapter on the back cover of EFW;
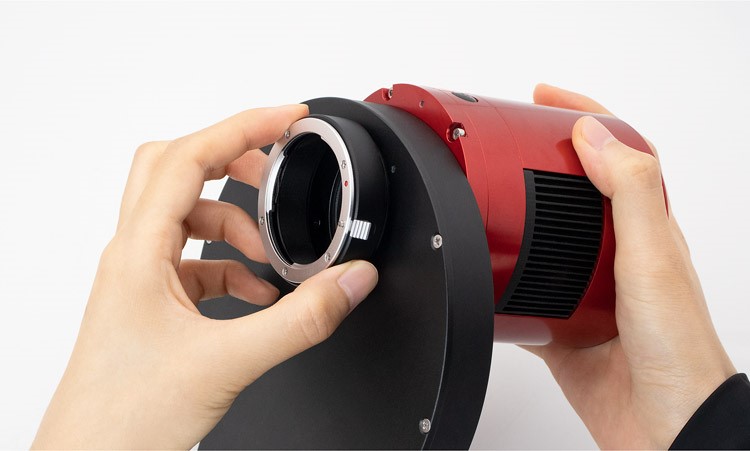
8. Connect the Nikon lens to the adapter.
9. All done.
Mechanical Drawing:
Only logged in customers who have purchased this product may leave a review.
Related products
-
 $49.00 – $59.00 Buy now This product has multiple variants. The options may be chosen on the product page
 -
-
-

Reviews
There are no reviews yet.